
Processes#
The Processes section shows the processes in the selected project, their processing status, and available actions.
1. Select a project and view processes#
Open Processes, then select a project in the field at the top.
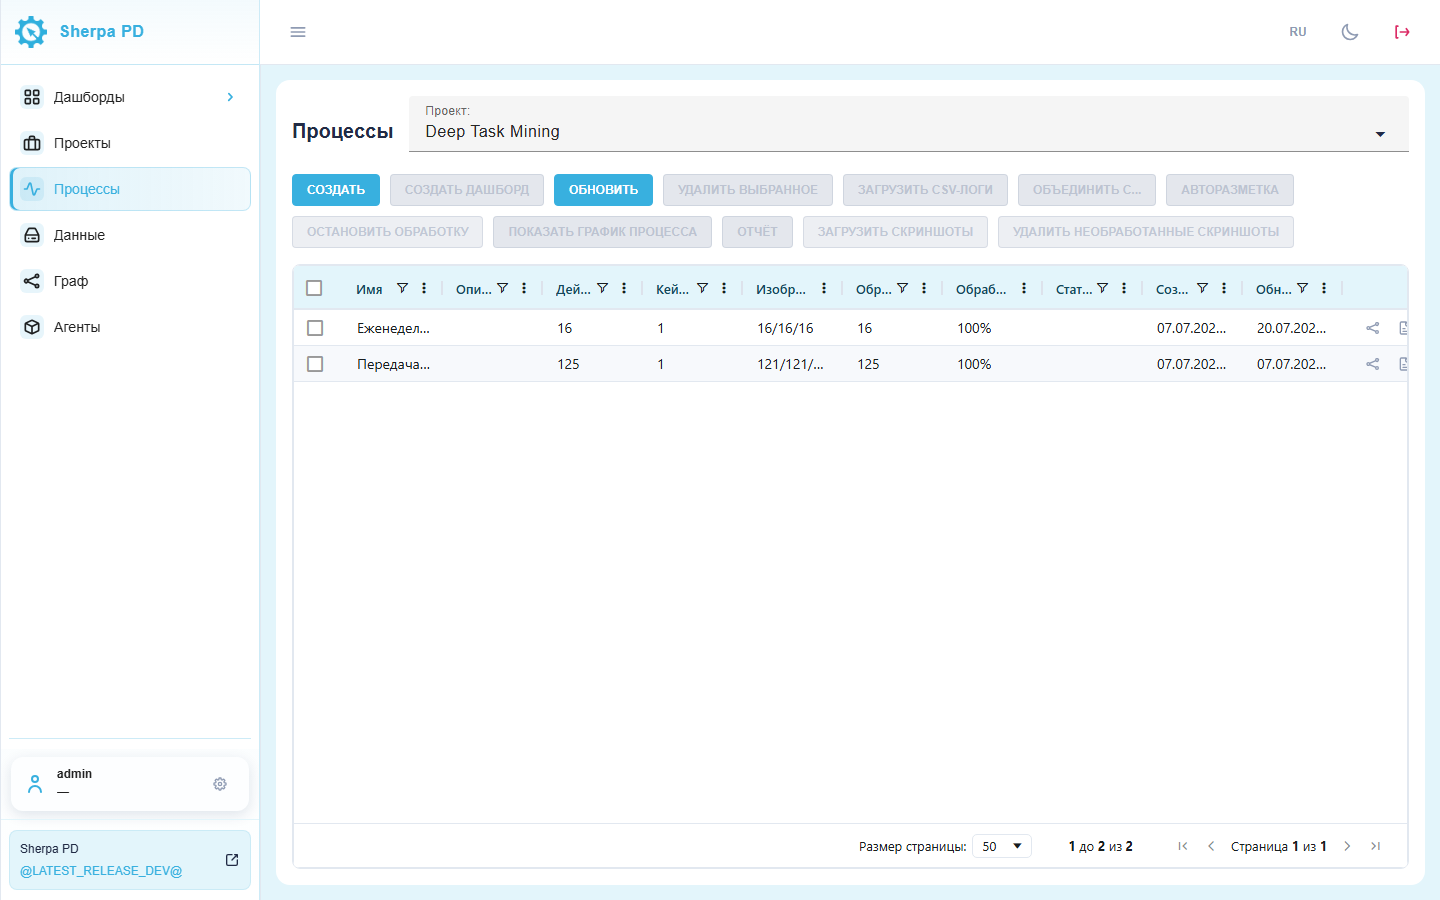
The table shows the name, description, number of actions and cases, processing progress, status, dates, and available actions. Deep Task Mining projects also show the status of related images. When a project is created, an empty Unlabeled Process is added automatically. Agent data or logs uploaded manually by a user go into this process.
2. Create a process#
- Select a project.
- Click Create.
- Enter a name and description.
- Click OK.
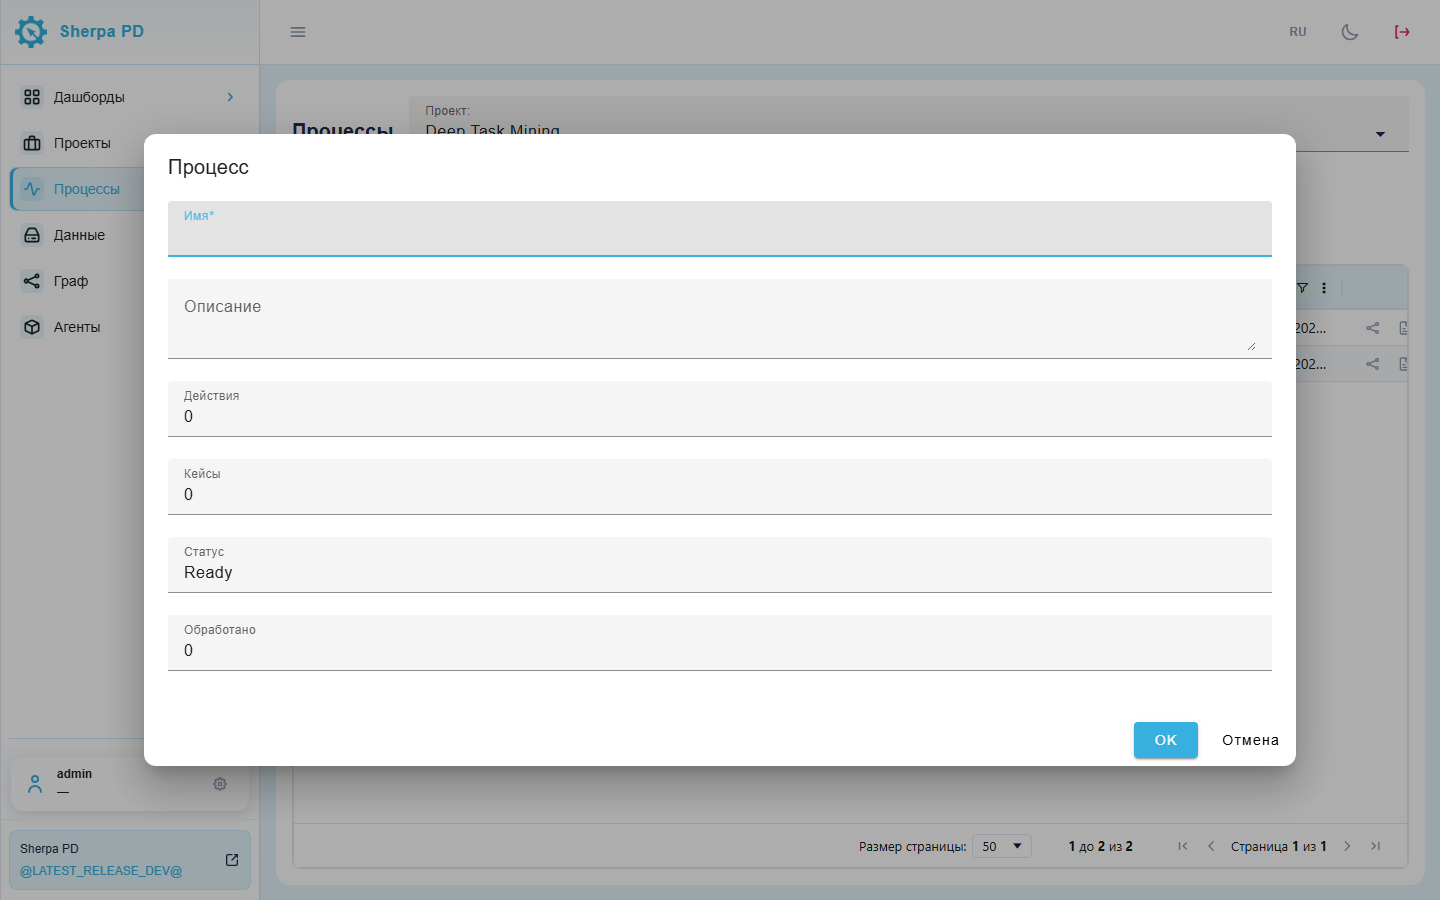
The system fills in the statistics and status fields. Click Cancel to close the form without creating a process.
3. Actions on a selected process#
Select a row using its checkbox. The available actions will then appear.
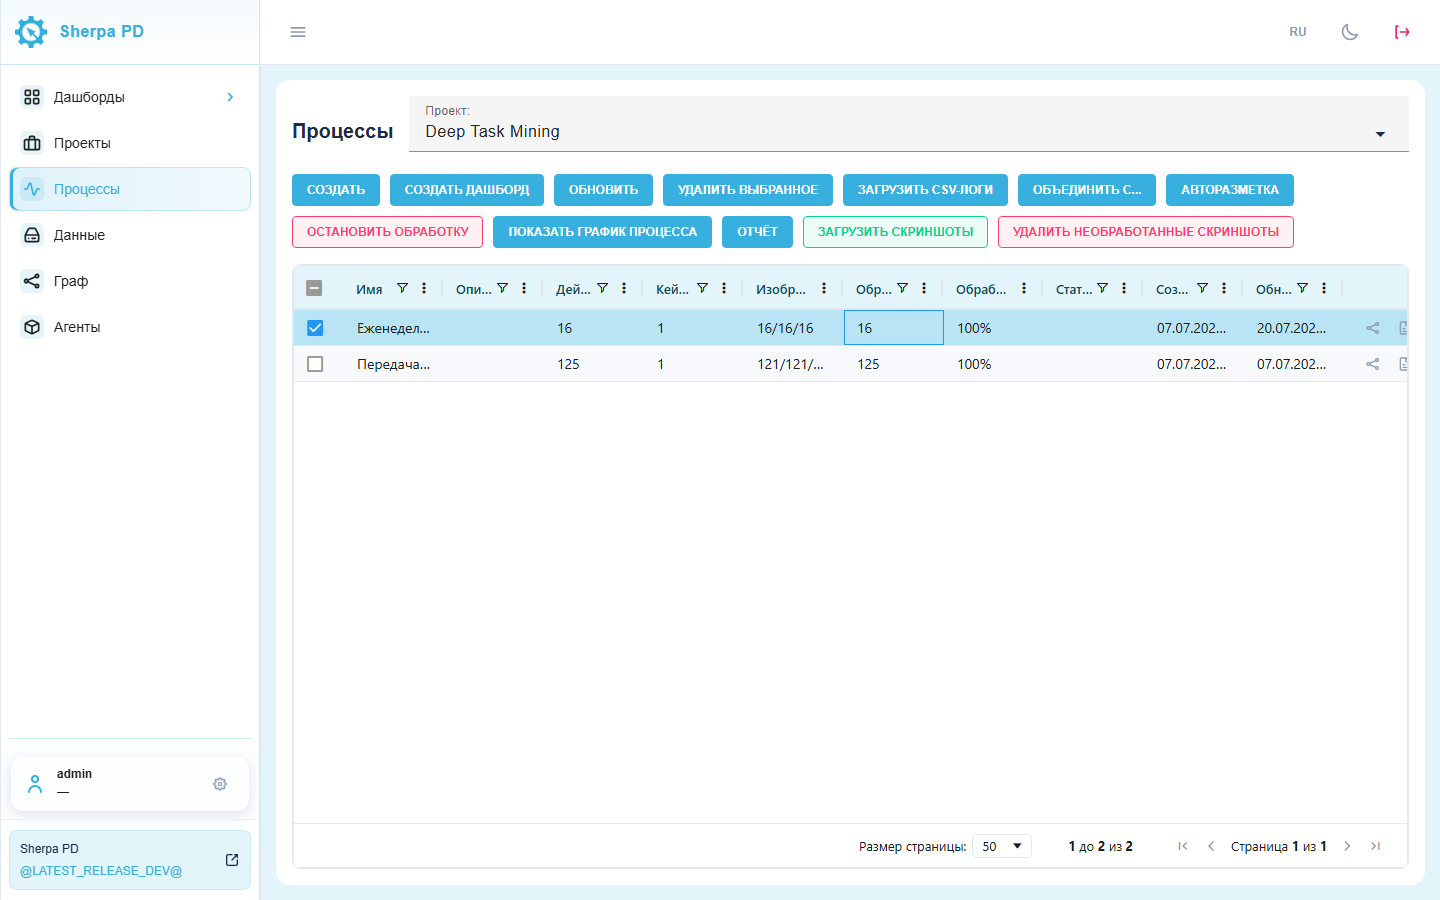
Main buttons:
- Create dashboard — create a dashboard from a template for one process;
- Delete selected — delete selected processes;
- Upload CSV logs — add an event log to one process;
- Merge with... — move selected processes into a target process;
- Auto-labeling — label by existing markers or with AI;
- Stop processing — stop the current processing operation;
- Show process graph — open the selected process in Graph;
- Show BPMN diagram — open the process BPMN diagram in Graphs and diagrams;
- Report — select cases and start generating a report.
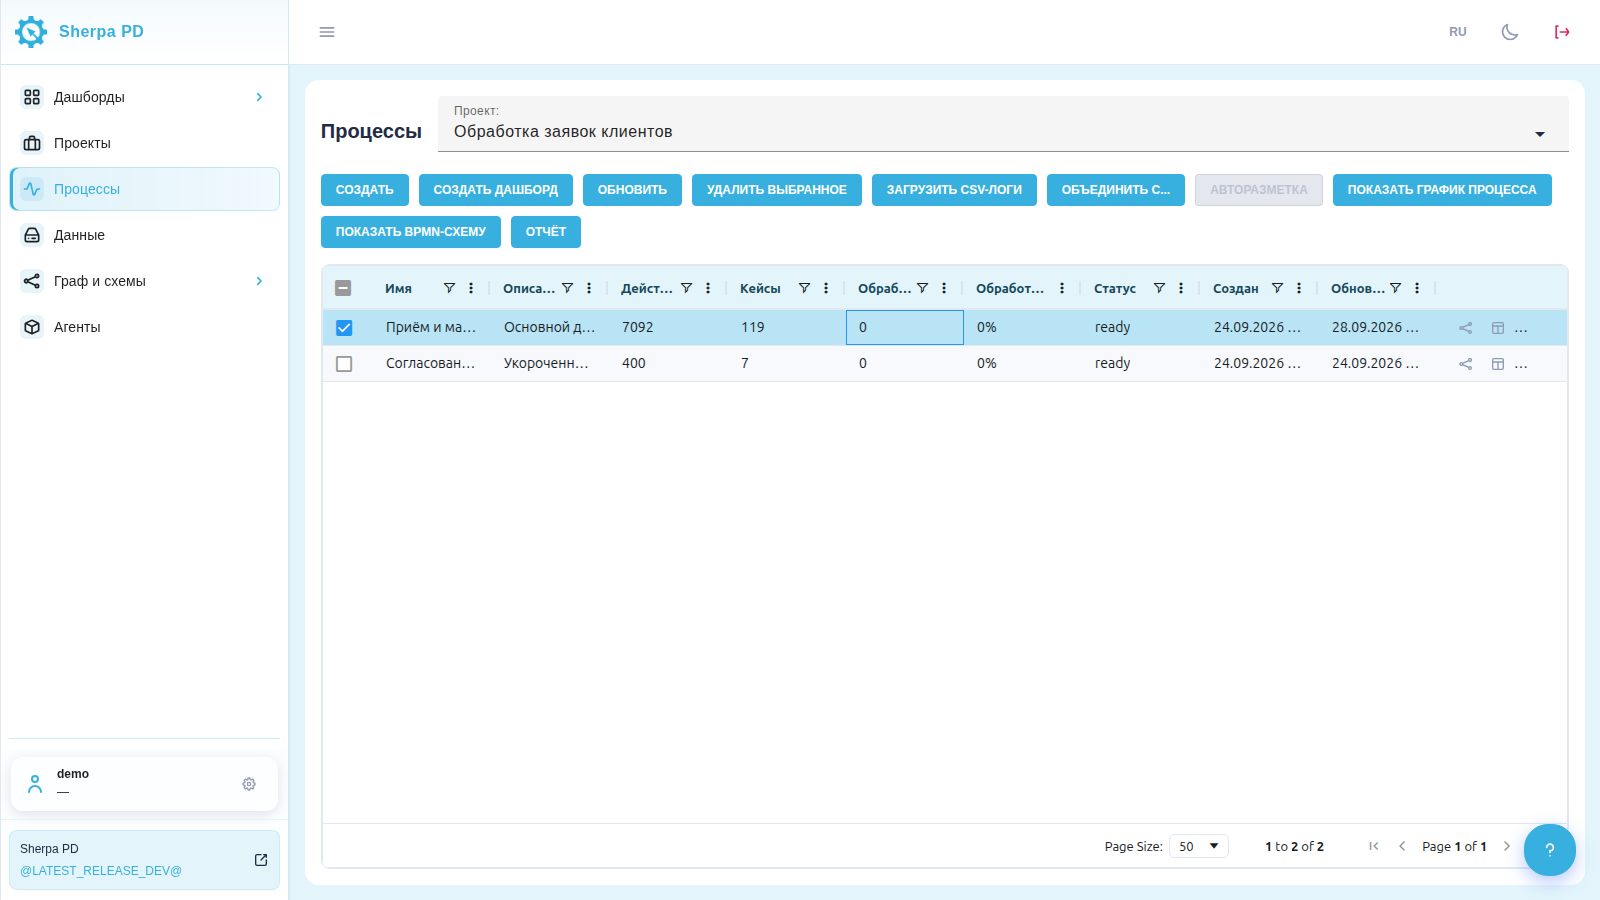
The system Unlabeled Process cannot be deleted or used as the source of a merge.
4. Upload logs#
- Select exactly one process.
- Click Upload CSV logs.
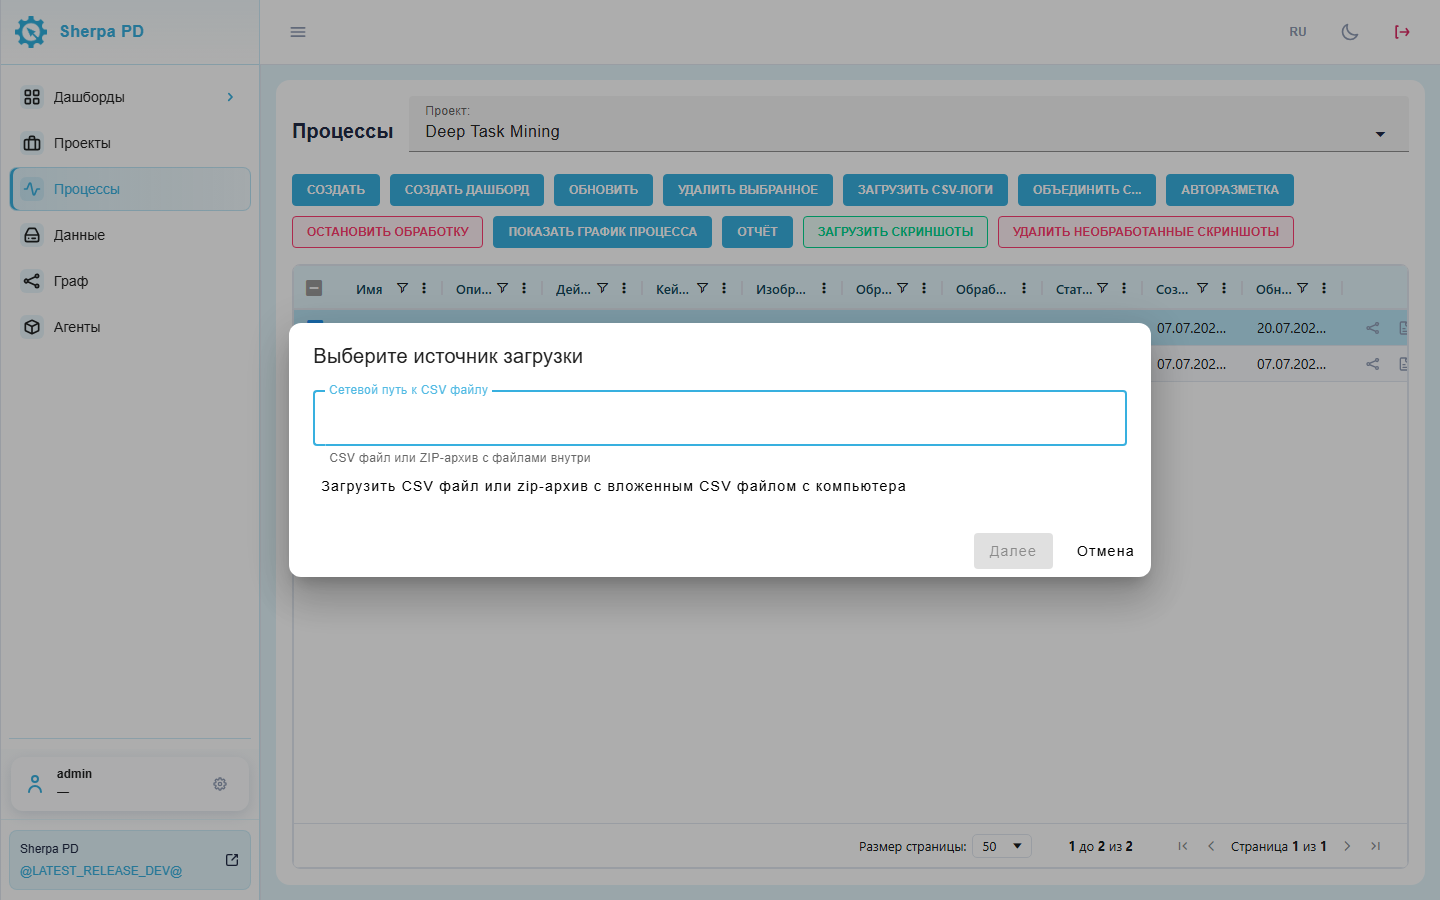
- Enter a network path to the CSV file, or select a CSV or ZIP archive on your computer.
- Continue and map the file columns to system fields.
- Confirm the upload.
If the server is critically low on free space, the upload is blocked with an HTTP 507 response and a warning in the interface. Free space on the server and retry; selecting the file again does not resolve the cause.
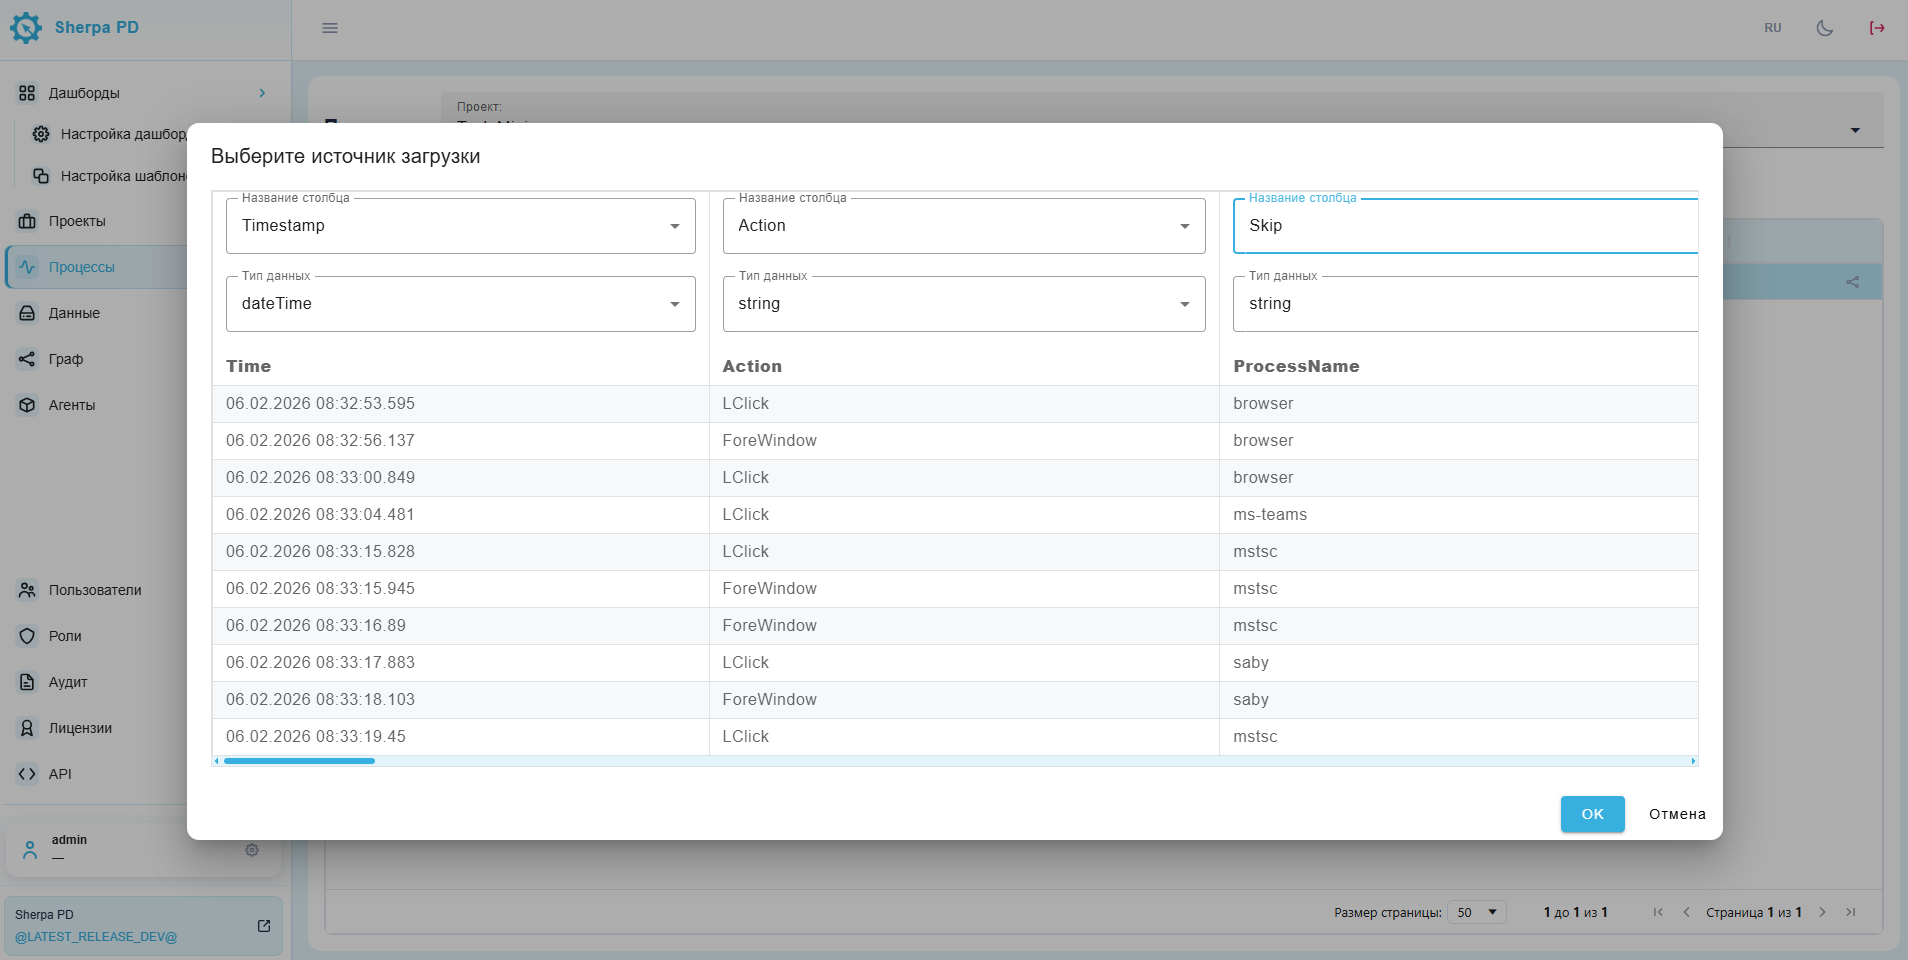
Before confirming, check column names, data types, and required time, action, and case ID fields. If you do not need some fields, select Skip for them.
Supported date and time formats:
- ISO and SQL (with a space or
Tseparator); - European and US formats (including AM/PM);
- dates in
year.month.dayformat; - Unix timestamps (seconds and milliseconds);
- Excel serial dates;
- for SAP, combine UDATE and UTIME from Additional Data if the main Timestamp column is empty.
Additional CSV fields (Additional Data) are stored in events and can be used in the dashboard widget builder.
5. Deep Task Mining screenshots#
For a Deep Task Mining project, these actions are available after selecting one process:
- Upload screenshots — upload images or a ZIP archive from your computer or a URL;
- Delete unprocessed screenshots — delete temporary images without a matching row in the CSV log.
The image column shows the numbers of linked, uploaded, and expected images.
6. Auto-labeling#
For one selected process, click Auto-labeling.
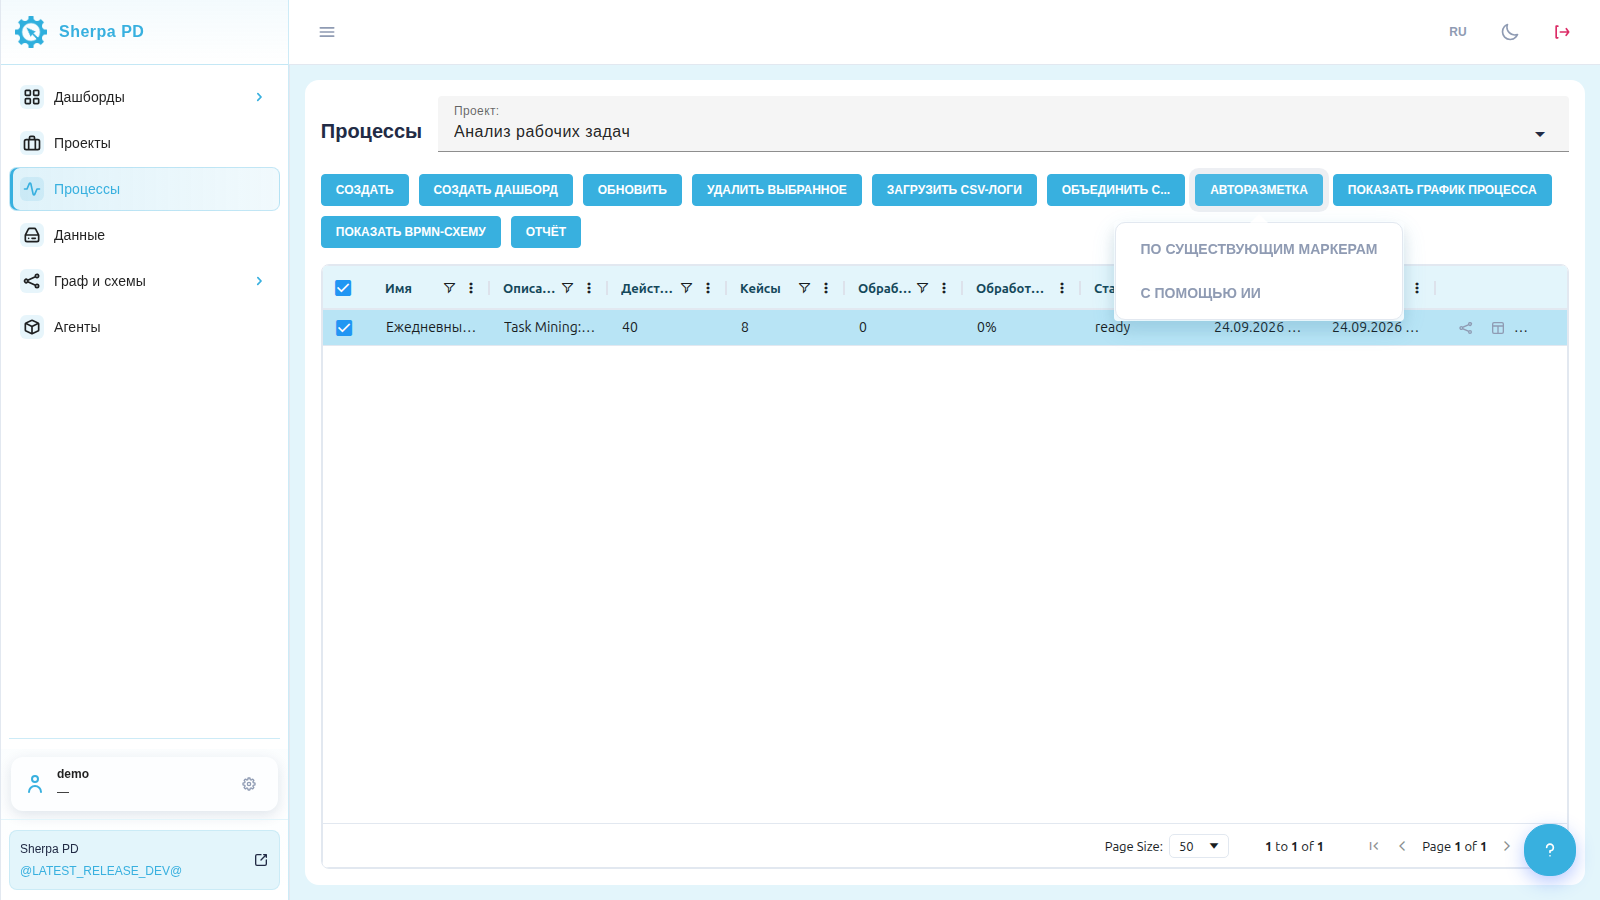
Two options are available:
- By existing markers — use process boundaries already set; the Status column shows Labeling by markers…;
- With AI — automatically identify process boundaries in Task Mining and Deep Task Mining logs; the Status column shows AI labeling.
Process boundaries are stored in the Marker field. Users can upload logs that already contain markers or set them in Data.
While processing runs, Stop processing may appear instead of Auto-labeling. Click it to interrupt the current labeling operation.
Auto-labeling changes process data. Watch the Status and Processed columns, and click Refresh to update the table.