
Installing Sherpa Orchestrator on Linux#
This guide is intended for a system administrator performing a new on-premises installation of Sherpa Orchestrator. The installation uses Docker. Installation without Docker is no longer supported.
Installing Orchestrator prepares the management server. Robots and the Coordinator are installed separately on their designated machines using the platform deployment guides.
Preparing the server#
Installation requires a Linux server and an administrator account with sudo privileges. Confirm distribution compatibility and the contents of the delivery package before starting. Docker installation commands depend on the distribution.
Before obtaining the distribution package, prepare:
- server resources meeting the Docker deployment requirements: an x86-64-v2 CPU with at least two cores, 4 GB of RAM, and 20 GB of free disk space. Allow additional capacity for images, databases, Storage, and backups according to the workload;
- a permanent server address and a domain name that resolves to this address from users' and Robots' computers. The web interface requires HTTPS access on port 443;
- a certificate for the selected name, its trust chain, and a private key. Obtaining and placing the files is described in Installing and configuring SSL certificates;
- the database deployment option. For a separate PostgreSQL server, the database administrator prepares access and connection settings using the external PostgreSQL guide.
Install and start Docker Engine and the Docker Compose v2 plugin on the Linux server using the Docker instructions for your distribution. The Sherpa installer requires Bash version 4 or later. Certificate and encryption key generation requires openssl.
Use these commands for preliminary checks:
bash --version
sudo docker info
sudo docker compose version
openssl version
df -h
free -h
If Docker is unavailable or docker compose version fails, resolve the Docker issue first. The standalone docker-compose version 1 utility does not replace Compose v2.
Example: check Docker and Compose versions on the prepared server. The Ubuntu test server has 4 GB of allocated RAM and runs Docker 29.9.2 and Compose 5.6.1. Success in this environment does not replace agreement on a supported operating system.
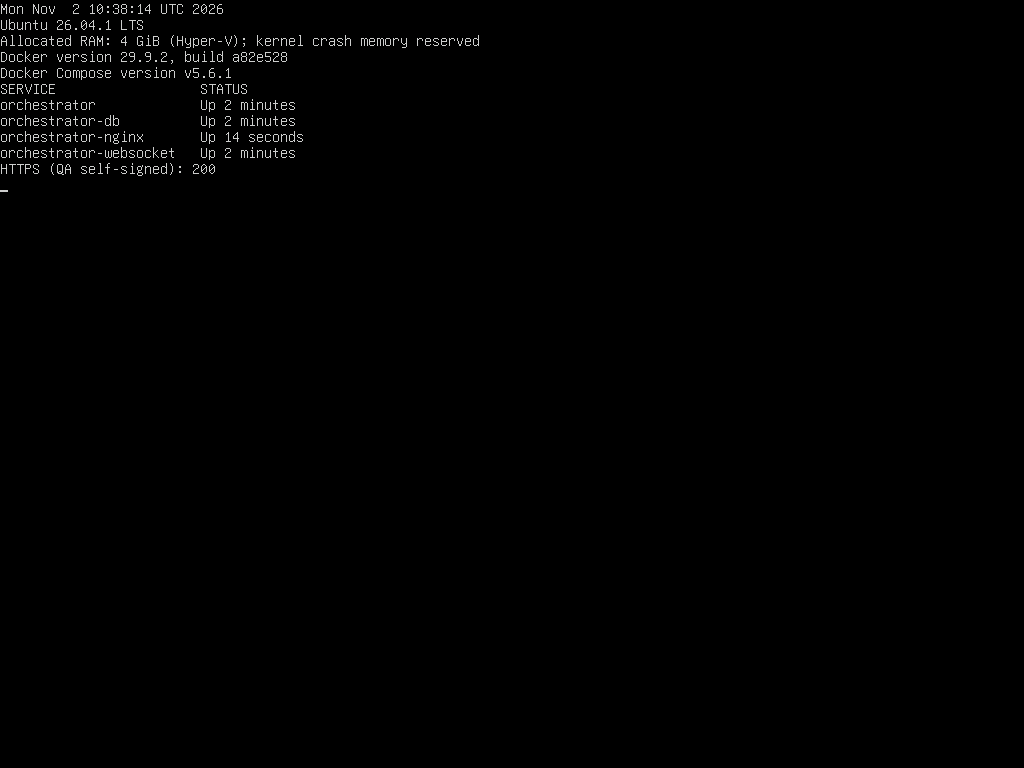
Four running Sherpa Orchestrator 5.9.5 containers and an HTTPS 200 response.
Preparing the delivery files#
Obtain the docker_orchestrator_client_files_VERSION.tgz client archive and image archives for the agreed version from Sherpa technical support. Backend, nginx, WebSocket, and selected database images must match the client files. Additional components require their own images.
Extract the archive into a separate directory for the new installation. The standard location is /opt/SherpaOrchestrator. In the commands, replace /path/to and VERSION with the path and version of the client archive you received:
sudo mkdir -p /opt/SherpaOrchestrator
sudo tar -xzf /path/to/docker_orchestrator_client_files_VERSION.tgz -C /opt/SherpaOrchestrator
cd /opt/SherpaOrchestrator
The extracted package root must contain .env, docker-compose.yml, and the sh_scripts directory. Place the Docker image archives in this directory as well. Check the files before starting:
sudo test -f .env
sudo test -f docker-compose.yml
sudo test -f sh_scripts/install.sh
sudo test -f sh_scripts/diagnostics.sh
When the file exists, test exits without output with code 0. If a file is missing, check the extraction directory and package completeness. Do not replace missing files with files from another version or extract a new installation over a running one.
Example: after extracting delivery package 5.9.5, check that all four support files exist. For a MariaDB deployment, compare the versions of the orchestrator, orchestrator-nginx, orchestrator-websocket, and orchestrator-db archives. All files are present on the test server and the image versions match.
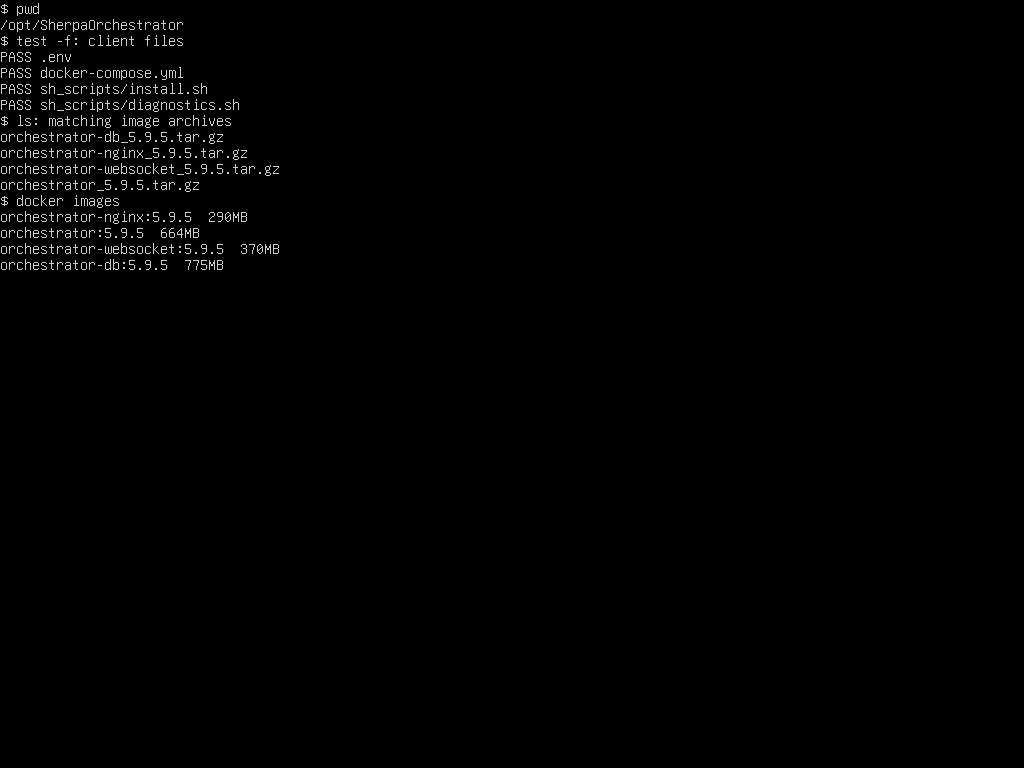
Client file and image checks for delivery package 5.9.5.
Running the installer and configuring connections#
To start the guided installation, run the following commands from the package root:
cd /opt/SherpaOrchestrator
sudo chmod +x sh_scripts/*.sh
sudo bash sh_scripts/install.sh
The installer checks the environment, offers database and optional component selection, verifies the archives, loads the images, and prepares configuration. It then configures .env, prepares HTTPS, and starts the selected services.
Choose the database option according to the deployment design:
- MariaDB in Docker — the database runs on the Orchestrator server with the
mariadbprofile; - PostgreSQL in Docker — the database runs on the Orchestrator server with the
pgprofile; - external MySQL — a separate database server is used, without a local database container;
- external PostgreSQL — a separate PostgreSQL server is used, without a local database container.
Set the following parameters for server component connections:
HOST_IP— the permanent IP address of the Orchestrator server reachable from client machines;NGINX_DOMAIN_NAME— the web interface domain name covered by the certificate;ORCHESTRATOR_ENCRYPTION_KEY— the data encryption key. For a new installation, generate it using the installer and retain it with the protected configuration and backups;DB_ENGINE— the database type. The installer setsmysqlfor MariaDB/MySQL orpgsqlfor PostgreSQL according to the selected option;MYSQL_PASSWORD— the MariaDB/MySQL connection password. The installer also writes the correspondingDB_PASSWORDvalue for the MariaDB container;POSTGRES_PASSWORD— the PostgreSQL connection password. Set this parameter only when PostgreSQL is selected;MYSQL_HOST— the separate server address for external MySQL;POSTGRES_HOST— the separate server address for external PostgreSQL;POSTGRES_PORT— the external PostgreSQL server port;POSTGRES_USER— the connection role name for external PostgreSQL;POSTGRES_DBNAME— the target database name on the external PostgreSQL server.
Populate the selected database settings with values provided by its administrator. For external PostgreSQL, also verify that the role and database exist. Required privileges and preparation options are described in the external PostgreSQL guide. Do not include passwords or the encryption key in screenshots or support requests.
In the Docker deployment, application configuration comes from .env. Editing backend/config/config.ini or backend/config/phinx.php separately is not required for this installation option.
Select additional components according to their purpose: VNC-proxy for VNC connections to Robots, Vault for storing secrets, and SIEM for sending audit events to an external system. Vault requires secret storage configuration. SIEM components and delivery verification are described in Using Docker.
HTTPS requires a certificate and private key for the selected domain. The installer supports placing orchestrator.crt and orchestrator.key in nginx/config/certs. Client machines must also trust the corporate certificate authority.
Example: select MariaDB in Docker and disable optional profiles that the chosen deployment does not require. Complete the wizard and validate the Compose configuration. The test installation log contains steps 0–8 and the completion message, configuration validation exits with 0, and all four containers are running. This does not replace functional acceptance.
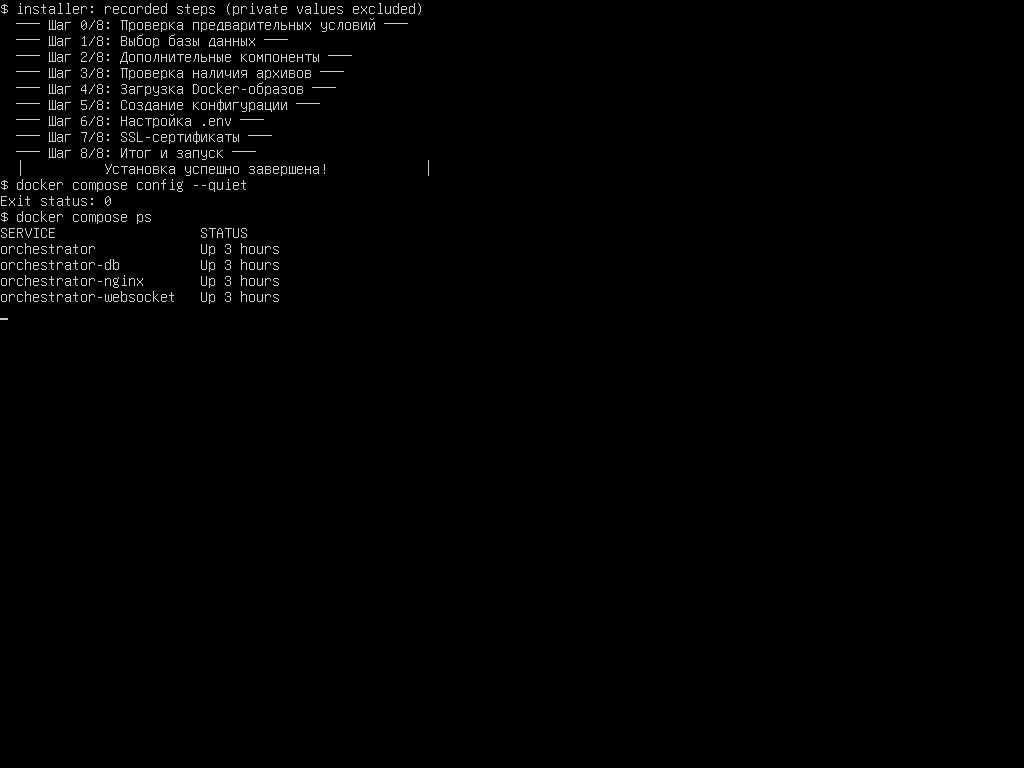
Installer steps and running container checks.
Verifying startup and signing in for the first time#
After the installer finishes, check configuration and service status from the installation directory:
cd /opt/SherpaOrchestrator
sudo docker compose config --quiet
sudo docker compose ps
sudo bash sh_scripts/diagnostics.sh
The configuration must have no errors. The orchestrator, orchestrator-nginx, and orchestrator-websocket services must be running. Database and optional service composition depends on the selections. With an external database, the absence of a local database container matches the chosen design.
Diagnostics checks installation components and reports problems. Read proposed fixes before confirming them. Successful diagnostics does not replace checking sign-in, Licenses, and Job execution.
Diagnostics exits with code 0 when the checked components have no findings. Code 1 requires investigation. Log checks may report messages retained from the first startup even after the cause has been resolved. Compare message timestamps with the current service state. Before confirming a proposed Storage permission fix, check it against the file access policy.
Before changing backend/Storage permissions, identify the backend user that needs write access. The Nginx user may have a different UID. Check the user configured to execute commands in the container with:
sudo docker exec orchestrator id
On the tested 5.9.5 image, the command returns uid=82(www-data) gid=82(www-data). These values apply to that image. After correcting permissions, verify uploading and reading a separate test file through the application. Checking a directory mode alone does not replace this test.
For the first sign-in, open the selected domain's HTTPS address in a browser, verify the certificate, and use the administrator credentials provided for the new installation. For example, with NGINX_DOMAIN_NAME=orchestrator.example.org, the web interface address is https://orchestrator.example.org. Replace the example domain with the actual server name.
Example: sign in using the administrator account for the new installation and open Robots. The signed-in User name appears in the upper-right corner. The test server provides access to this section after successful authentication.
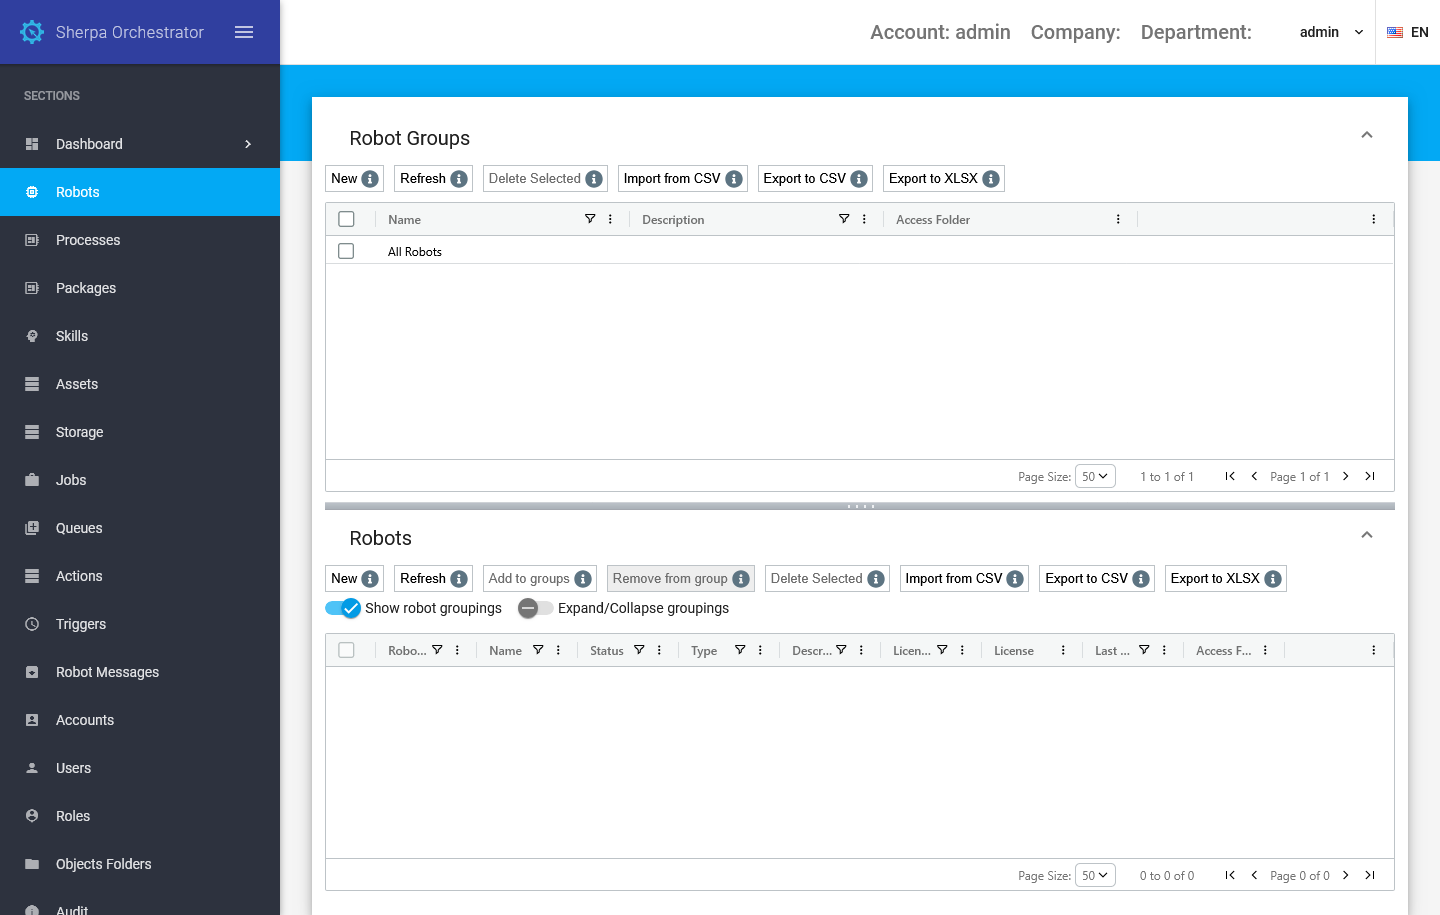
Robots after administrator sign-in to Sherpa Orchestrator 5.9.5.
After signing in, configure Licenses using Creating a new License in Orchestrator. Configure Robots and verify a test Job after preparing the server. Opening the sign-in page alone does not establish that the entire platform is ready.
Functional acceptance requires an active License, a connected test Robot, and a published test Process. See Creating a Job with a selected Robot and Process. Acceptance includes reaching a successful terminal Job state and checking the expected Process result. Saving a Job or leaving it queued does not establish execution.
If a service exits or keeps restarting, use the logs to identify the cause:
sudo docker compose logs --tail 100 orchestrator orchestrator-nginx orchestrator-websocket
For database errors, check the selected deployment option and connection settings. For HTTPS errors, check the domain name, certificate, key, and client trust. Remove passwords, keys, and other secrets before sending logs to support.
Verifying automatic startup and further configuration#
To resume operation after a reboot, Docker automatic startup and container restart policies must be configured. Check the Docker service on the Linux server:
sudo systemctl is-enabled docker
sudo systemctl is-active docker
Check container policies against the delivery package's docker-compose.yml and Docker restart rules. After a scheduled server reboot, repeat service, HTTPS, and sign-in checks.
Example: repeat the checks after a scheduled server reboot. On the test server, Docker is active, all four containers are running, and HTTPS returns 200. This confirms recovery of the server components.
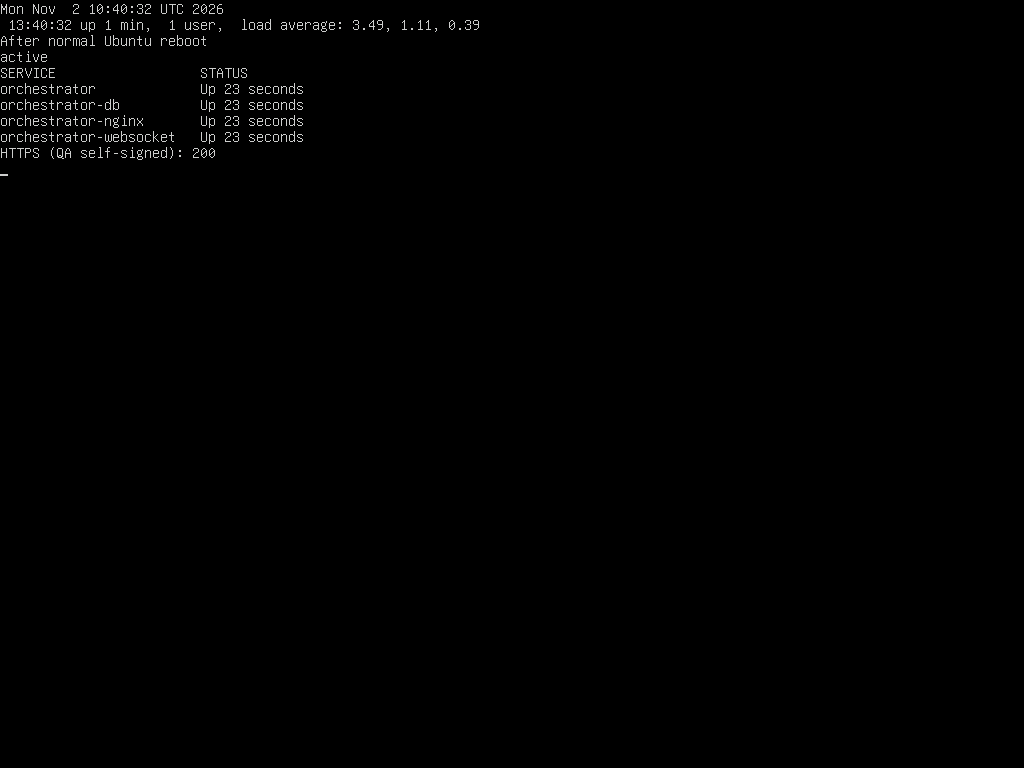
Container and HTTPS checks after rebooting Ubuntu.
Use these resources to continue preparing the platform:
- User authentication — configuring sign-in methods after installation;
- Backup and recovery — retaining databases, configuration, Storage, and secrets;
- Sherpa Orchestrator installation procedure — detailed manual Docker deployment operations.